
Connecting Your Form to Ubiq Pay
Creating a payment-enabled form in Ubiq Pay works much like building a regular form, with a few additional fields and payment settings. Below is a summary of the payment-specific fields and settings you'll need to configure in order for Ubiq Pay to properly process payments.
Follow these simple steps to create and set up your Ubiq Pay forms.
| Step 1: Add Payment Fields to Your Form |
|---|
|
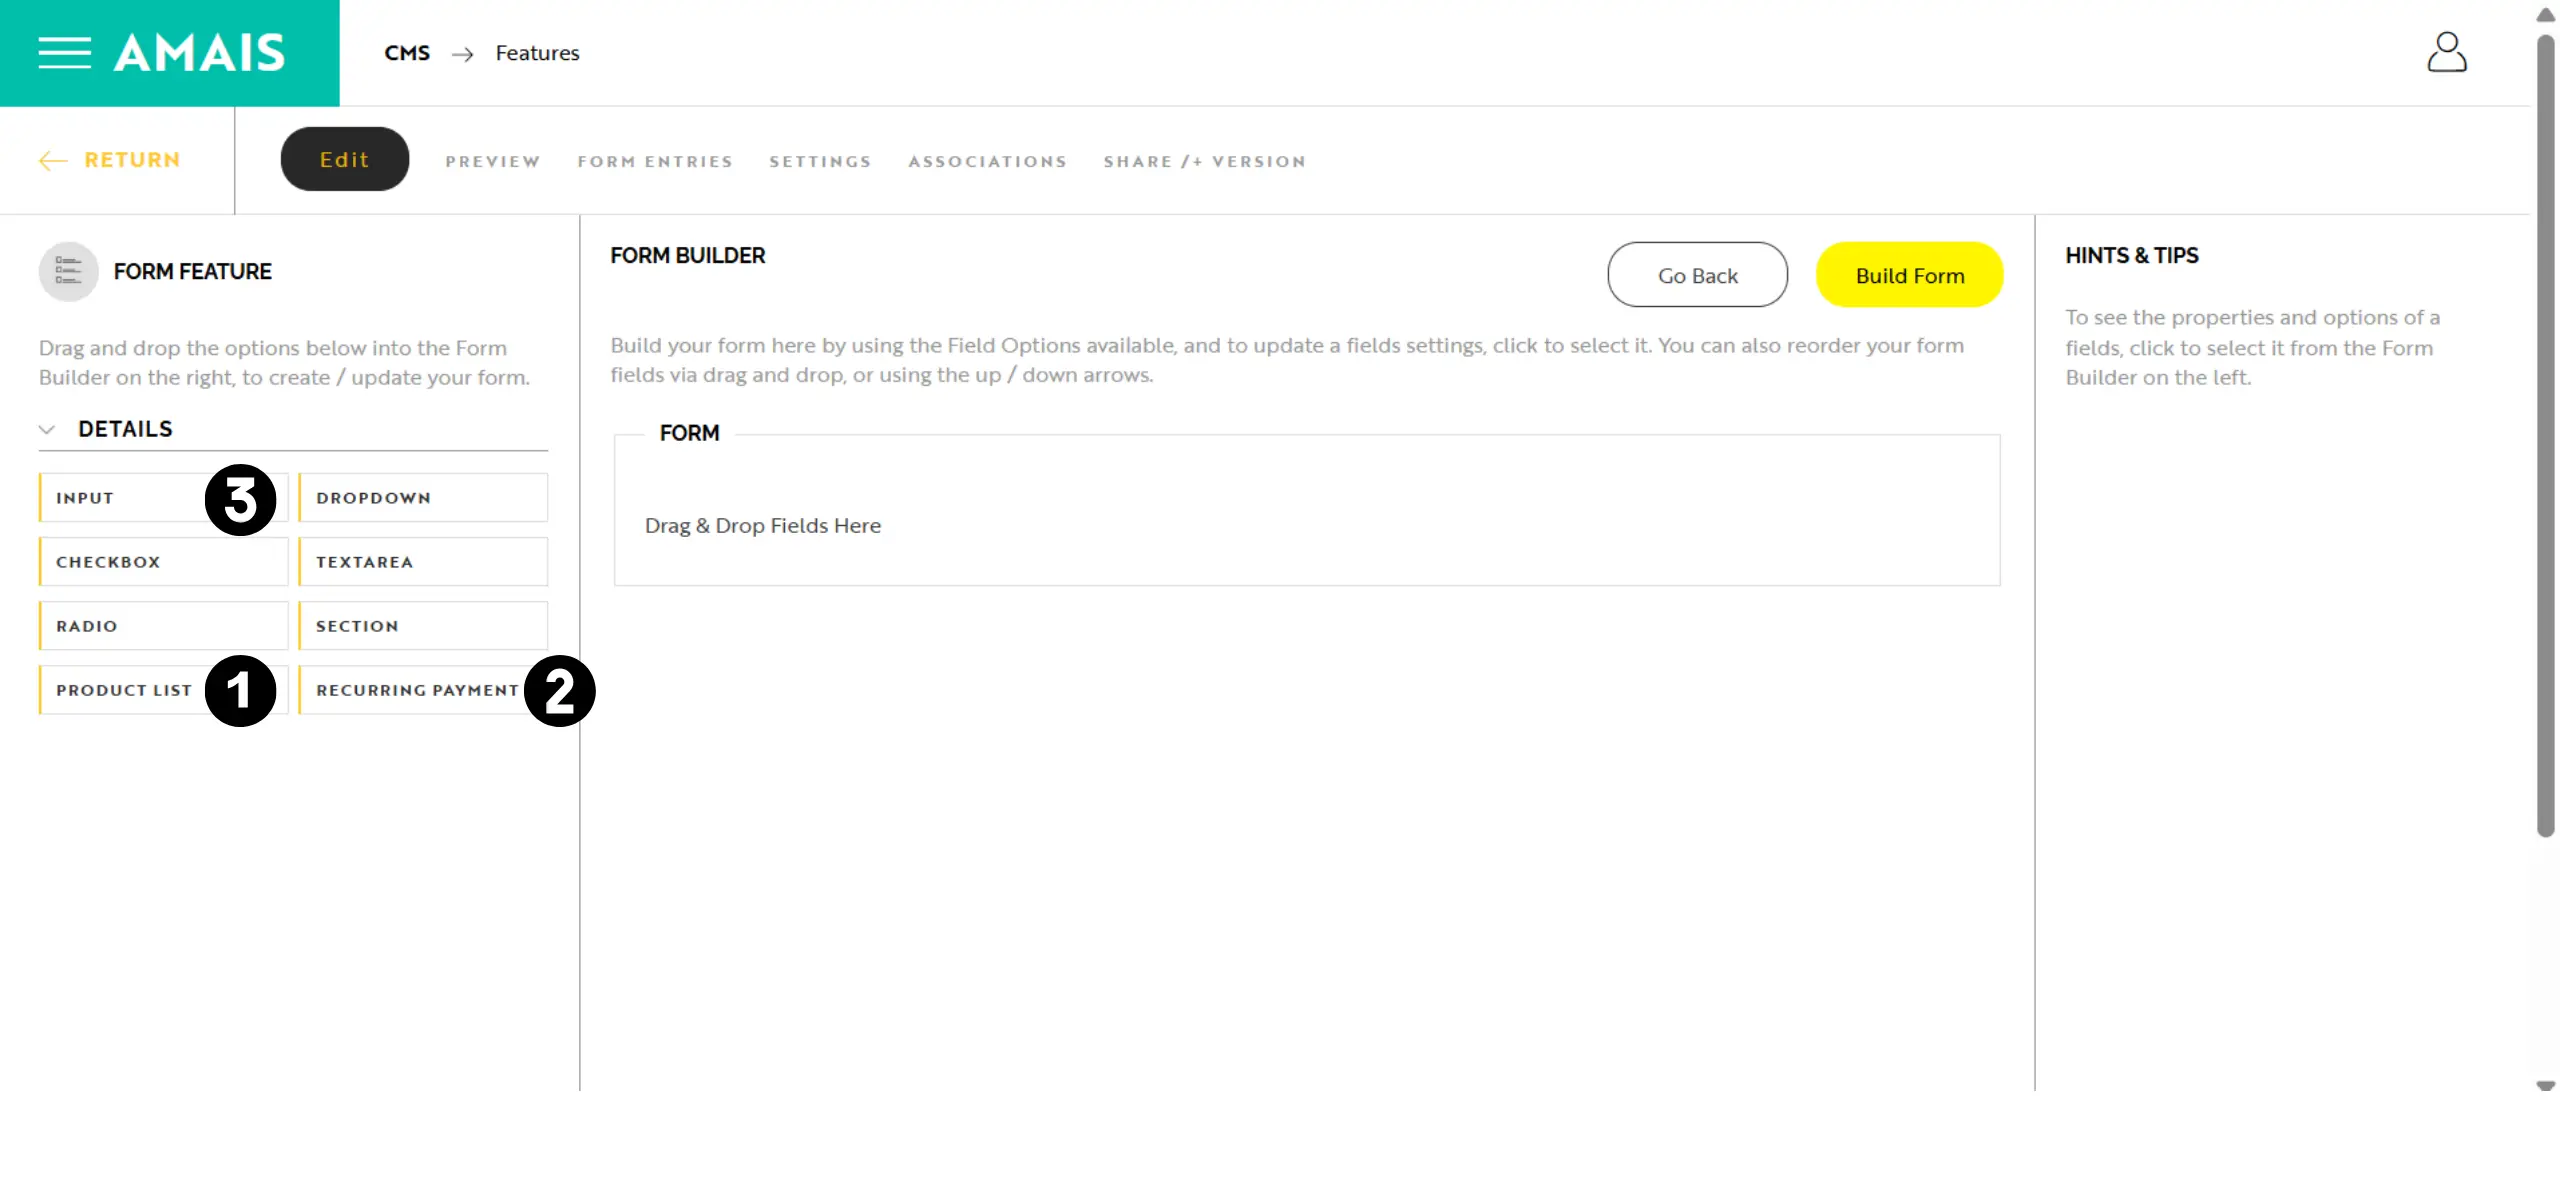
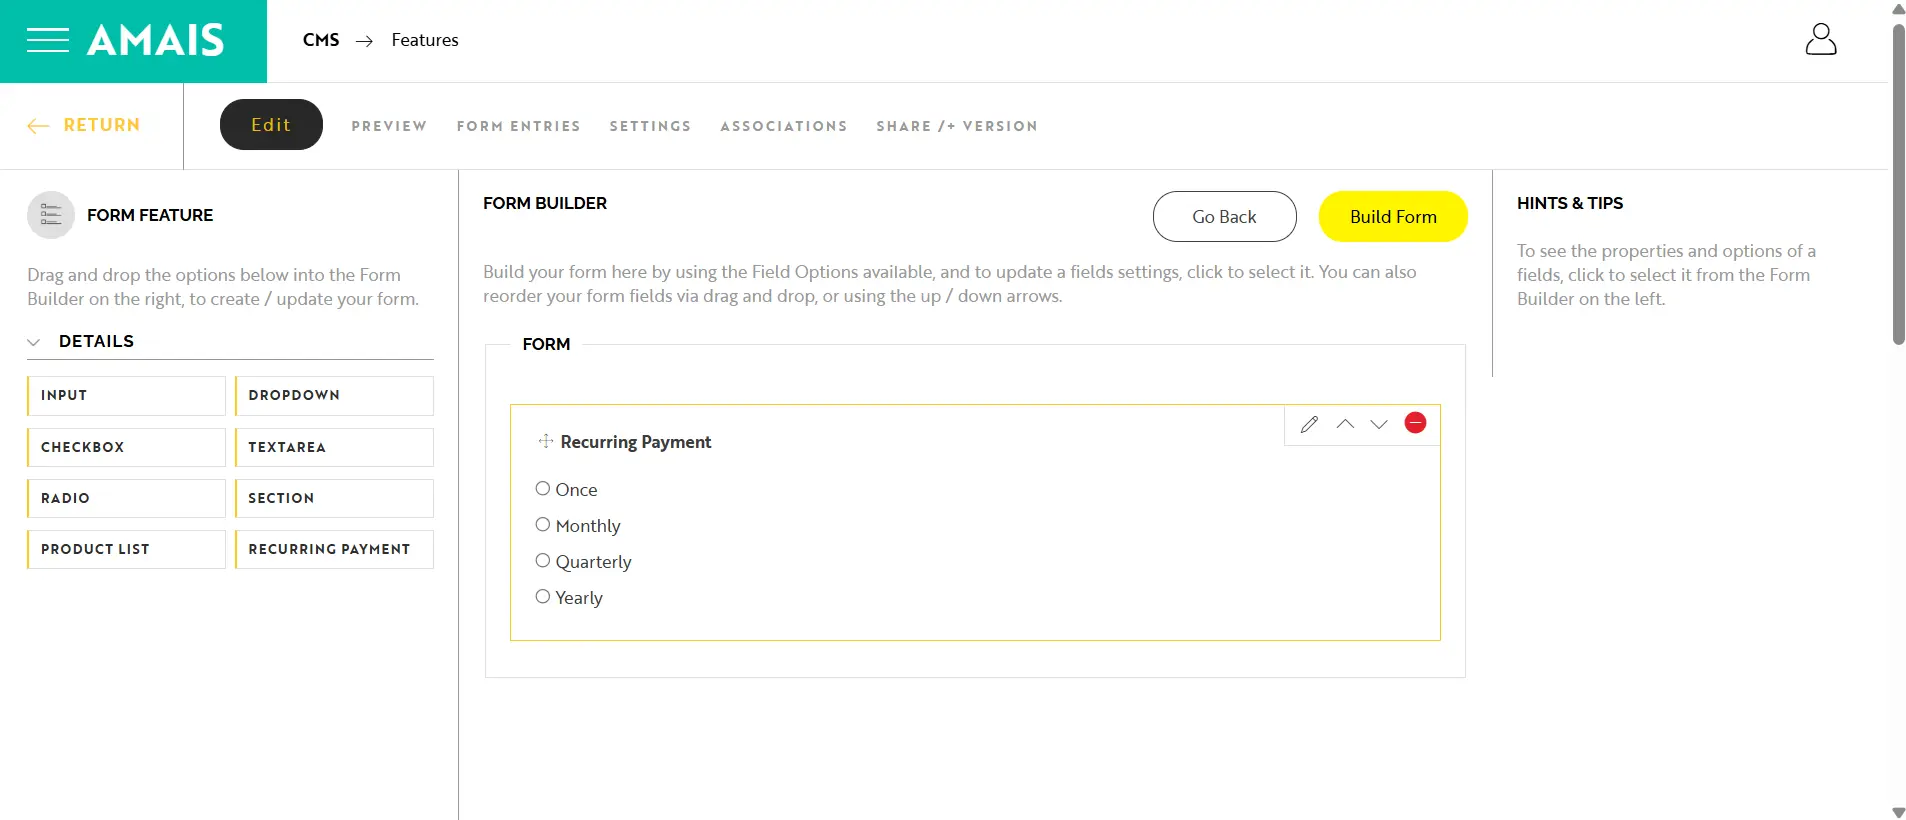
UBIQ Pay supports several form fields that determine how payments are calculated and processed.
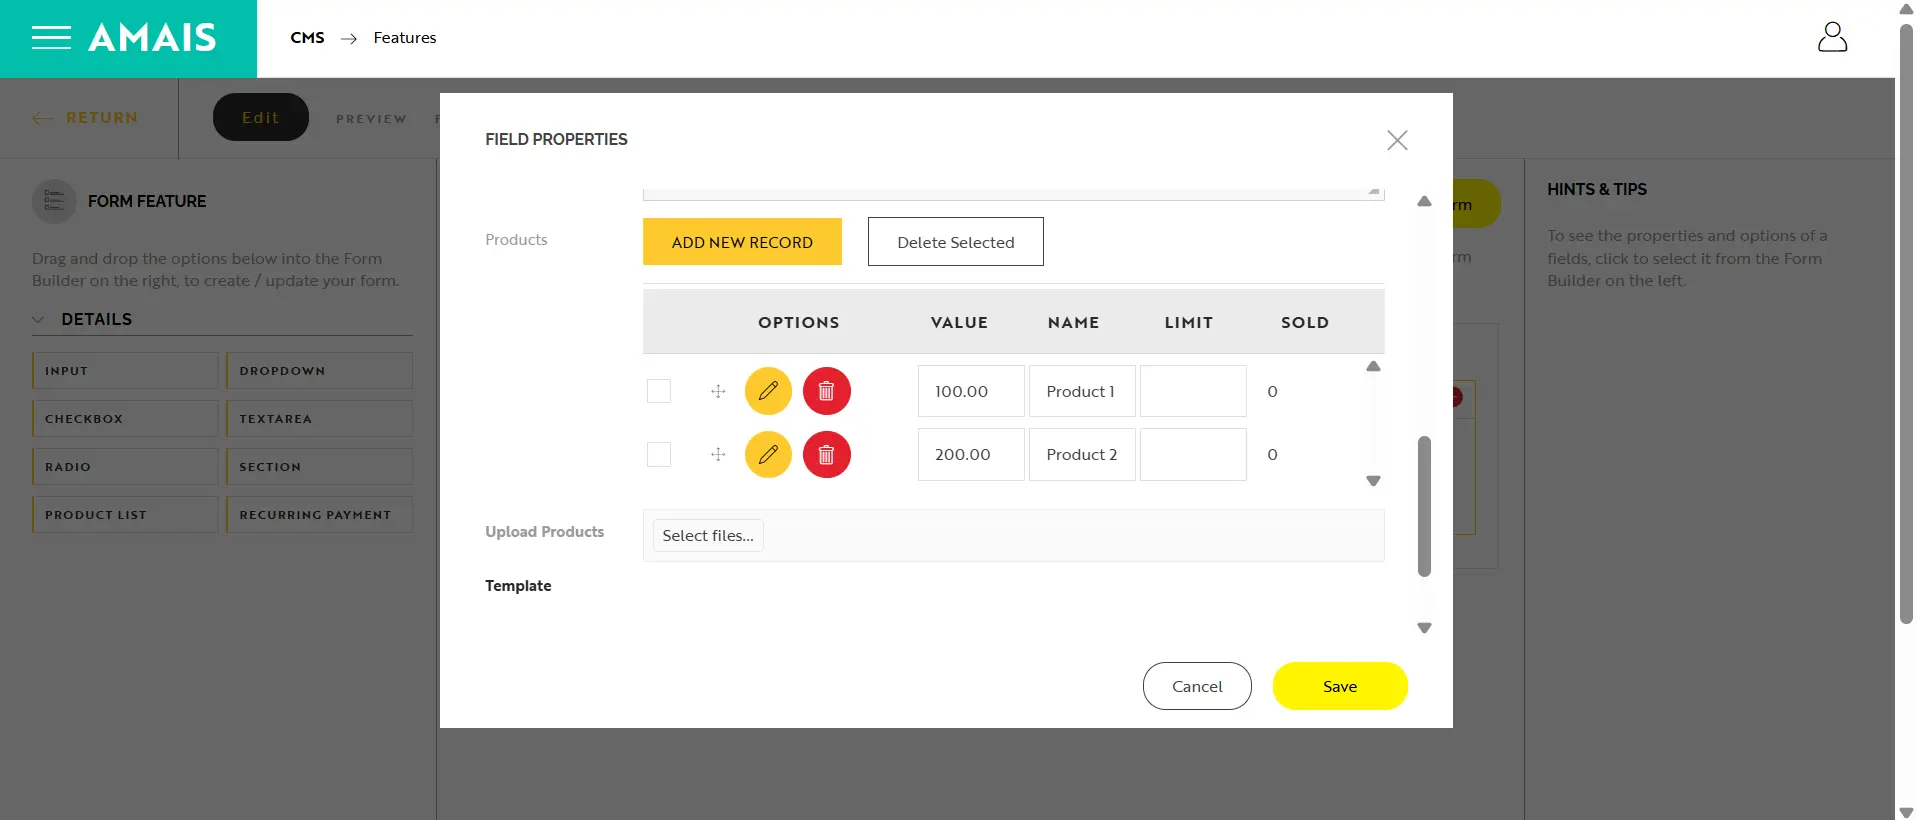
1. Product List FieldDrop and drag this payment-specific field to offer preset products or fees. What you can configure:
|
|
Step 2: Finalise the Form |
|
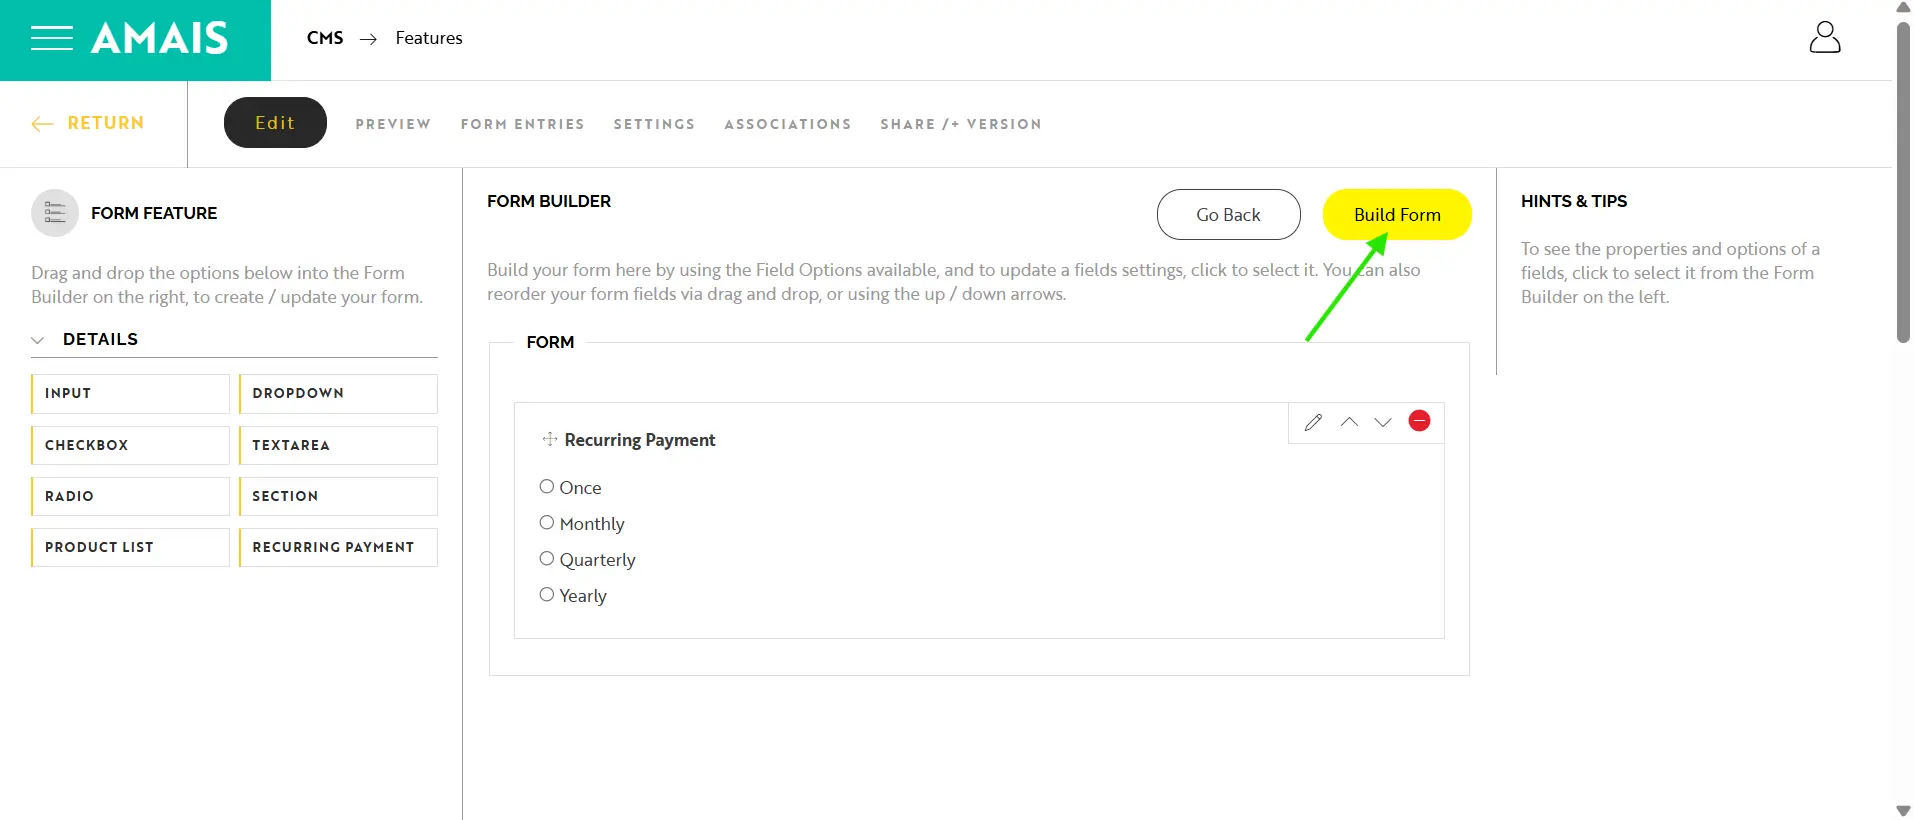
After adding your payment fields, click BUILD FORM to proceed to payment configuration.
|
|
Step 3: Configure your Payment Settings |
|
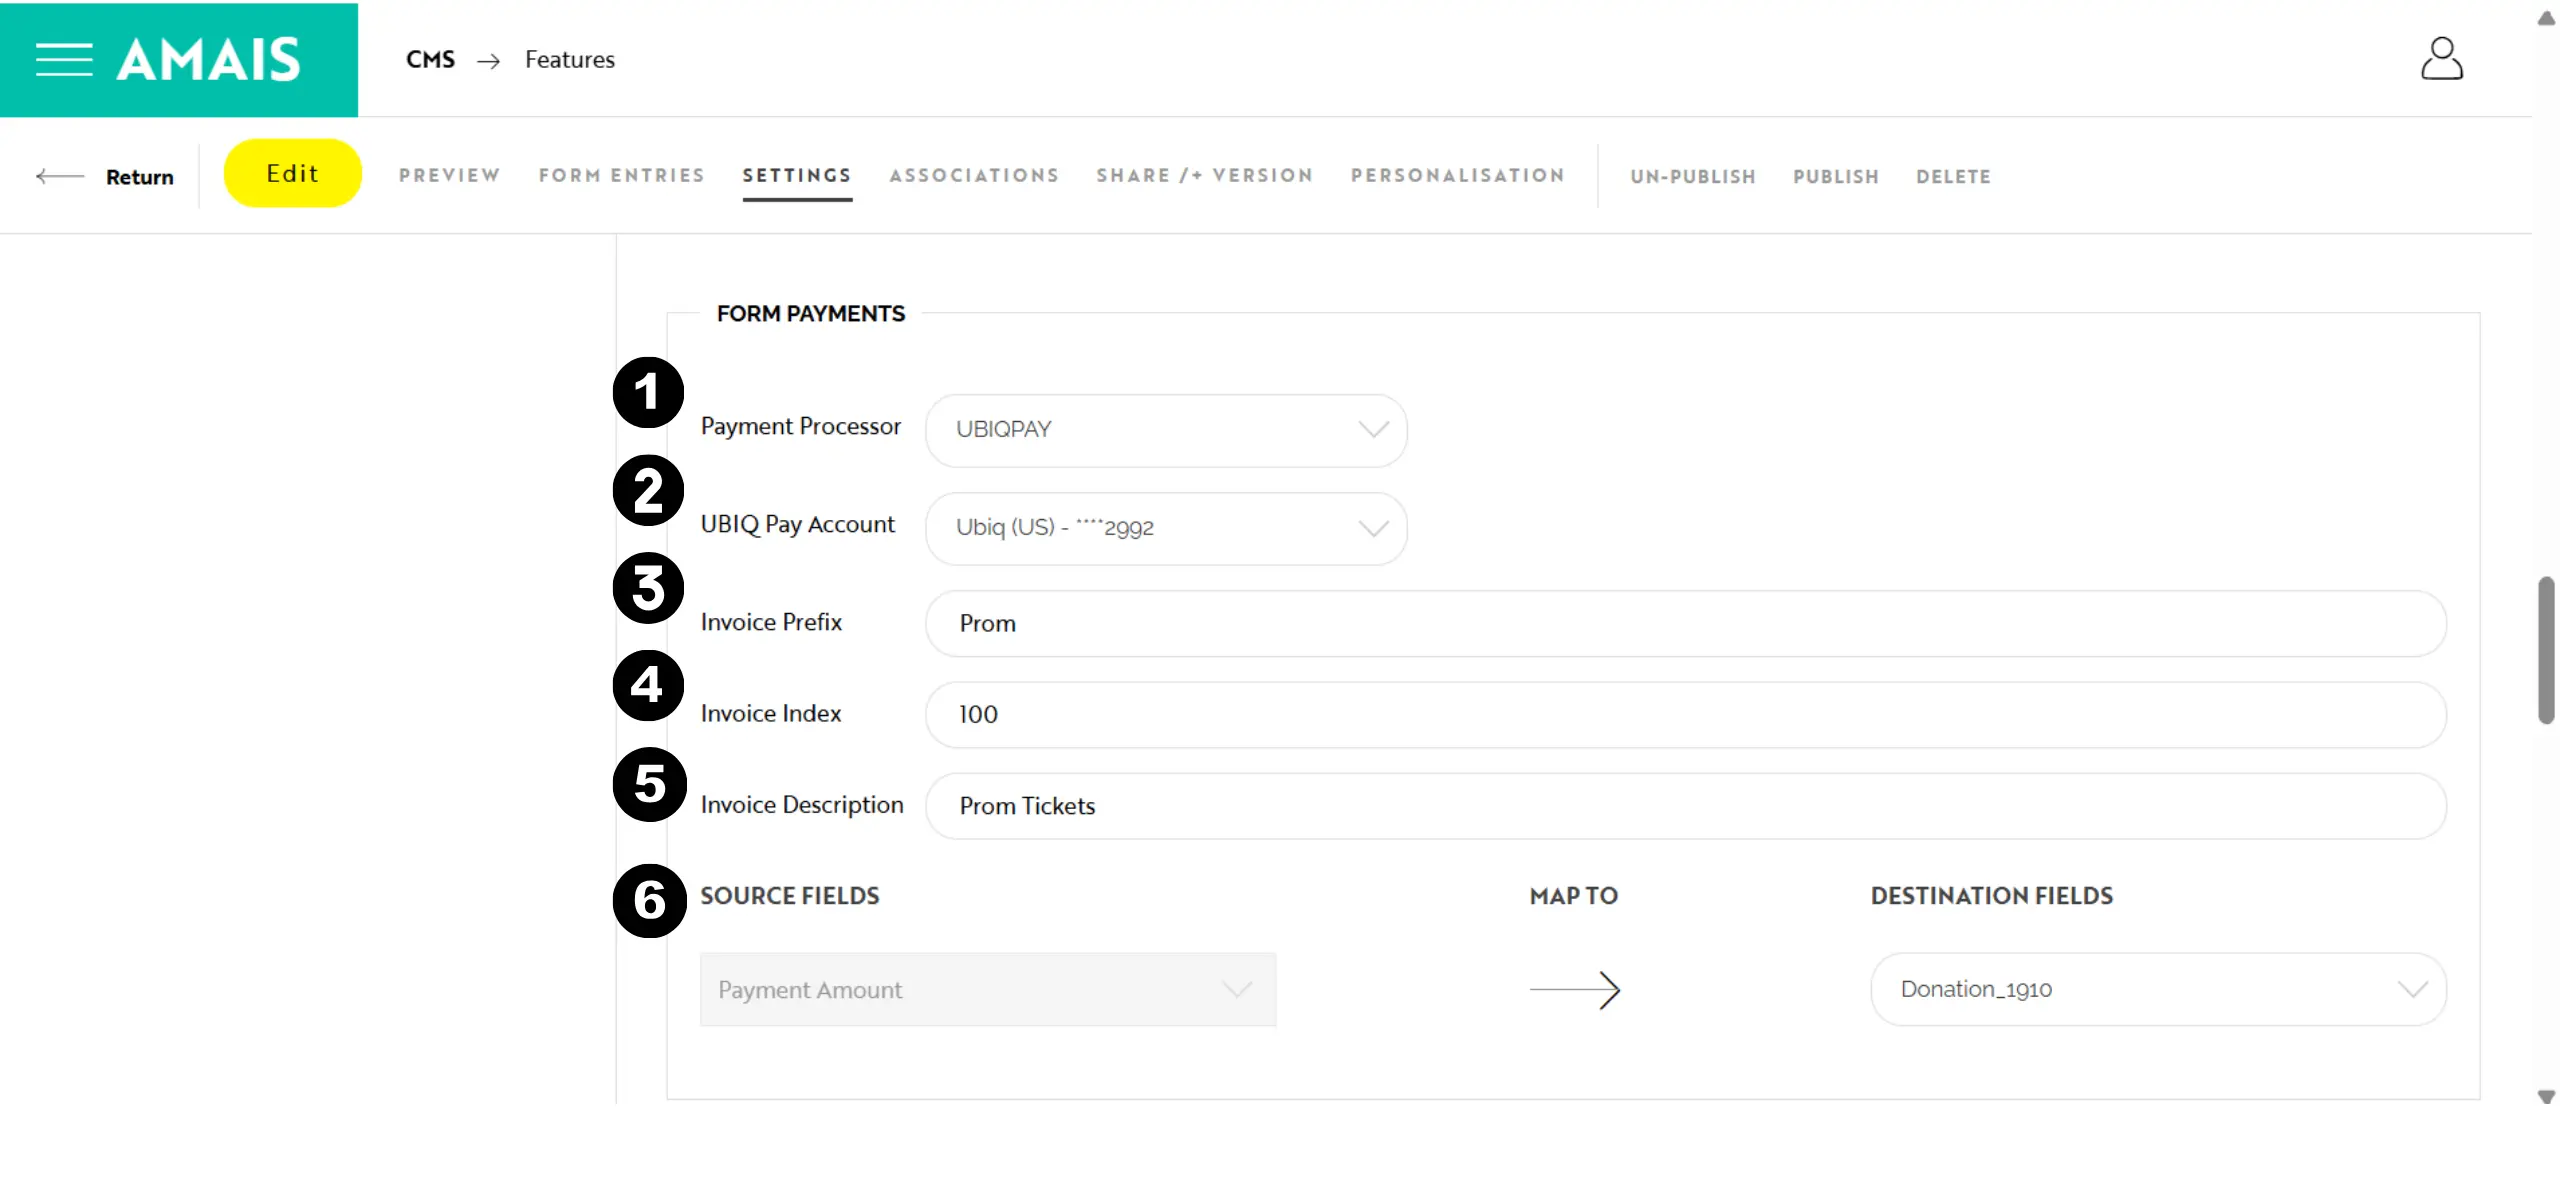
Navigate to Settings → Form Payments to define how payments are processed.
1. Payment ProcessorFor Ubiq Pay, your Payment Processor should be UBIQPAY. 2. UbiqPay AccountSelect which UBIQ Pay account (if you have multiple) should receive payments from this form. 3, 4 & 5. Invoice SettingsThese settings generate the invoice number and help track payments:
Example:
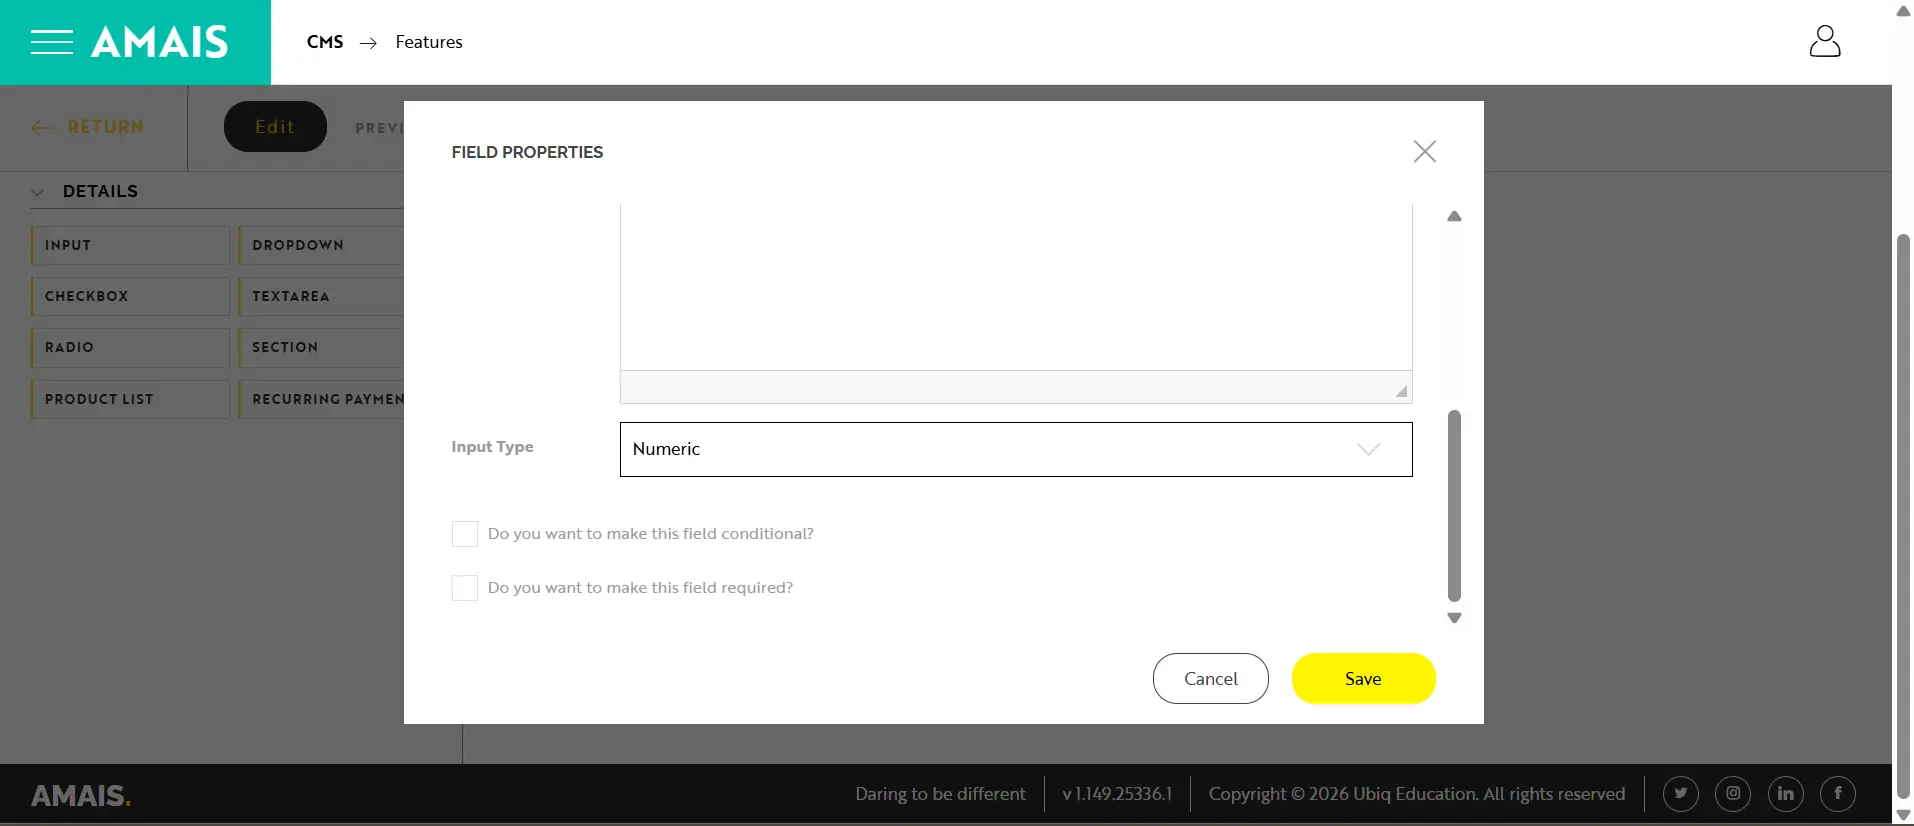
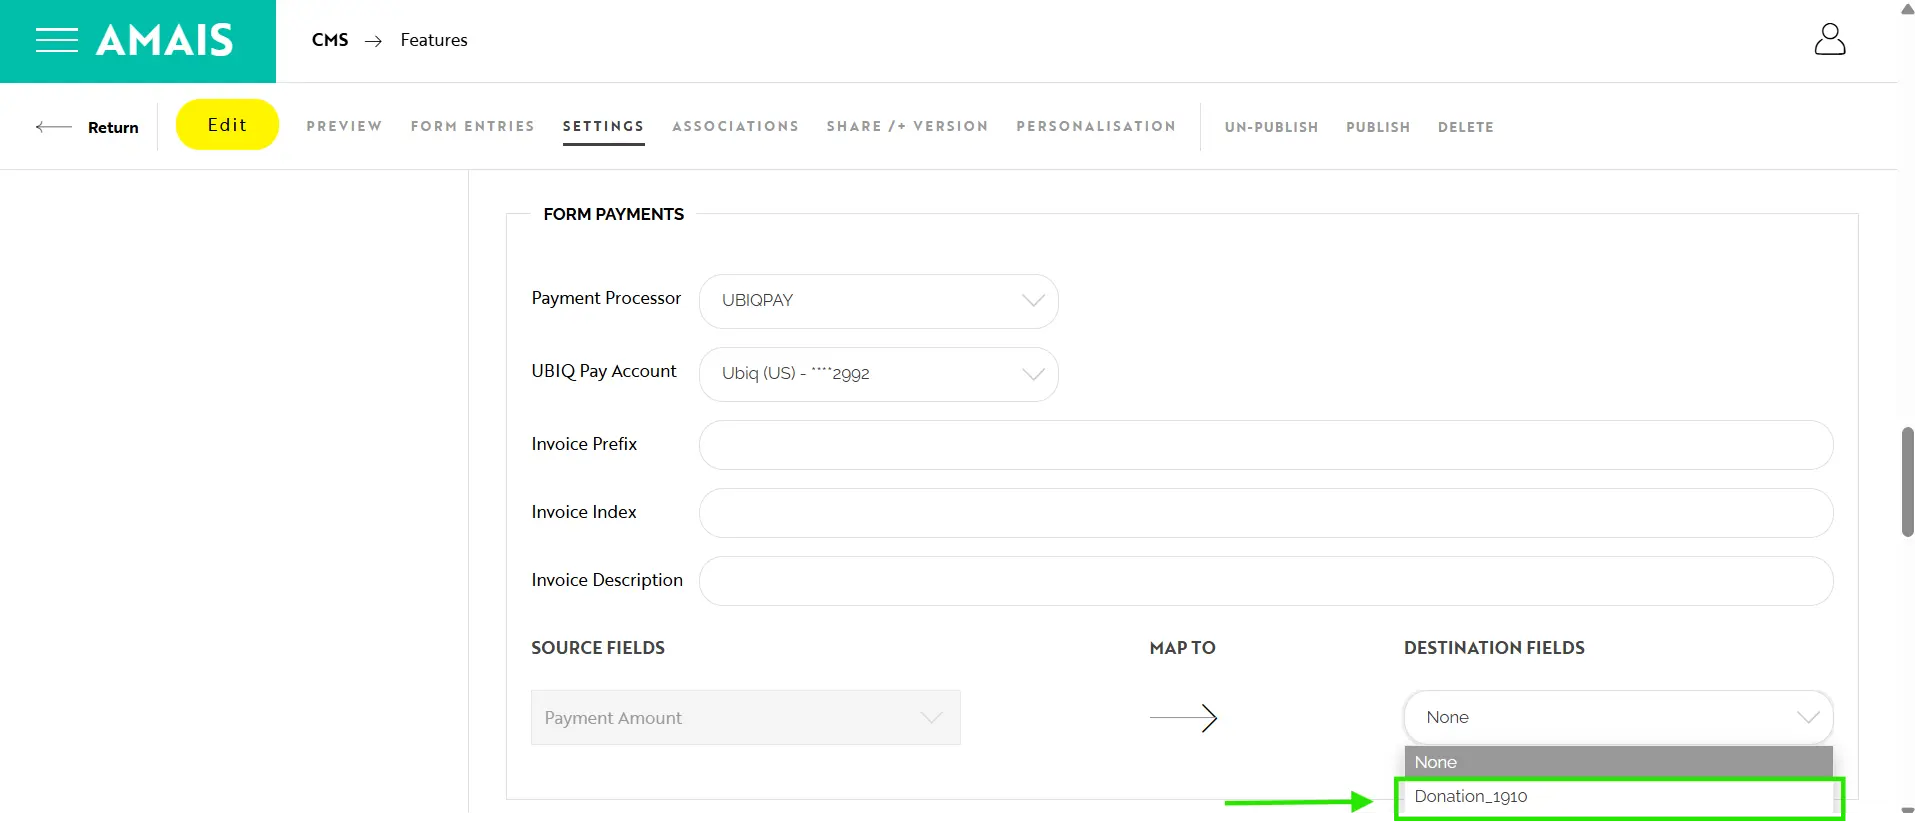
6. Source Fields (Payment Amount Mapping)This field is required only if you have used a Numeric Input Field for payment in your form. Map the Input field to the payment destination, so Stripe knows where the amount originates. See Step 1 above.
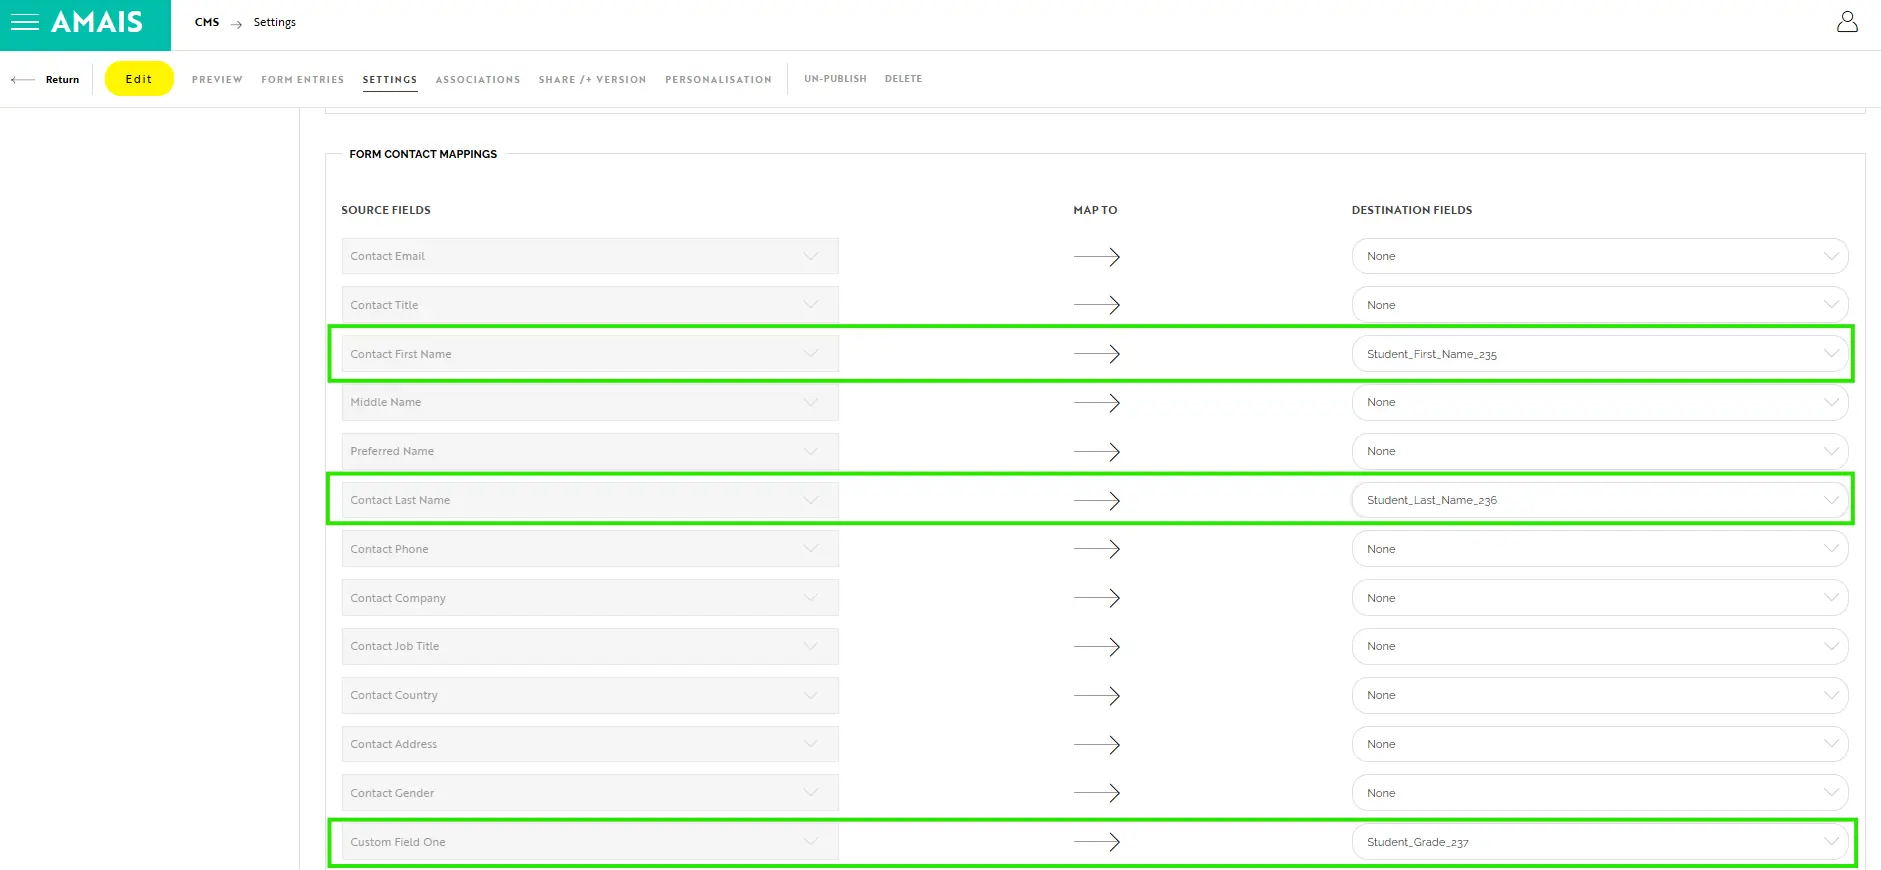
Additional Source Fields can be found under the Form Contact Mapping section. These fields can be mapped and used for personalising your confirmation messages. This is completely optional.
|
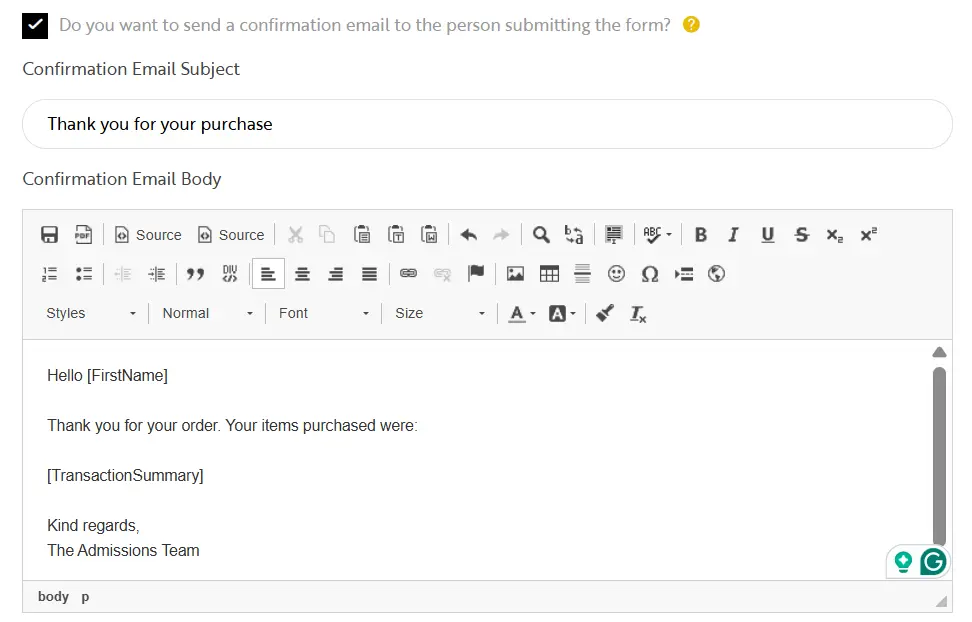
| Step 4: Email Confirmations (Optional) |
|
If you send confirmation emails to form submitters, you can also include the tag
|
|
|

FAQs
|
Can I add a discount option to my payment fields |
|---|
| No. Ubiq Pay does not currently support applying discounts to payment fields. |
| Can I add tax or VAT to my payment fields? |
| No. Ubiq Pay does not currently support adding tax or VAT to payments. |
| Can I pass Stripe’s transaction fees on to the form submitter? |
| No. It is not currently possible to configure payments so that the user absorbs Stripe’s processing fees. |
Additional Resources
For details on payment tracking and exports, see the UbiqPay Reporting Guide.
For details on creating a Form from scratch, view our Form Creation Guide.
For details on Form Settings, beyond payment-specific configurations, view our Forms Setting Guide.
Discover more


ONGOING SUPPORT
Need help with anything else?
If you can’t find the answer you’re looking for in our Knowledge Base, there are three ways you can get support: